GET YOUR HANDS DIRTY! HOW TO REPOT YOUR ALOCASIA!
Over the past couple of months we've taken a look at the best ways to repot some of our favourite houseplants using the amazing Soil Ninja premium soil blends. Last up in the series, but certainly not least, we're diving into all things alocasia.
With their range of stunning leaf and stem shapes and patterns, alocasia are the go-to for the houseplant collector looking to spice up their collection. Whilst beautiful, they can be fickle and we often advise they're not one for the faint hearted.

The pay off is worth it though - after a bit of give and take you should find your alocasia's preferred light levels and watering routine. Be warned - you may leave some or even all of the leaves in the process, but unlike a lot of houseplants, alocasias actually grow from a rhizome, so even if you think you've killed it, you may still be surprised! If you do lose every leaf (and you might), don't throw it out! Let the soil dry out, and so long as you didn't overwater to the point of rotting the rhizome, you may well find some new shoots the following year!
Repotting is a great way to kickstart this regrowth, but will also benefit more established and healthy plants too. These tropical beauties usually start putting out some lovely new leaves around late spring or early summer, so this is when you should repot them.
So, what do we do?
With alocasias, it pays to be prepared. Give your plant a good drink about an hour before you plan to repot it. This will make life much easier, as the soil tends to fall off a bit too easily if it's dry, meaning you risk damaging their delicate roots.
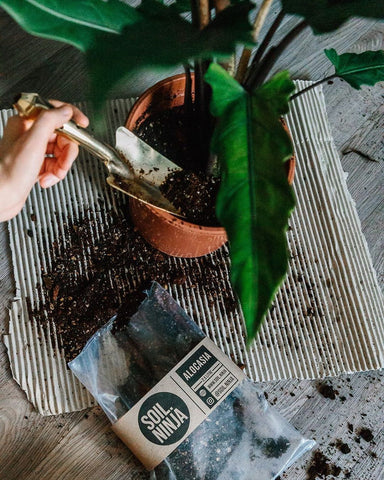
As always, you're going to want your nice clean new pot ready and waiting to go. Add a layer of clay pebbles, followed by a layer of alocasia soil. Alocasia should be potted at the same depth they were in their original pot, so keep this in mind as you add this bottom layer.
When ready, gently slide the plant out of its existing pot and check the roots over for any signs of rotting. As water lovers, they can be more prone to rot, so if you see any dark slushy bit, snip them away with a clean sharp knife. If it's very rootbound you can carefully untangle some of the outer roots at this point too.
Place the plant into its new pot and back fill with more alocasia soil around the sides. Gently firm and water in.
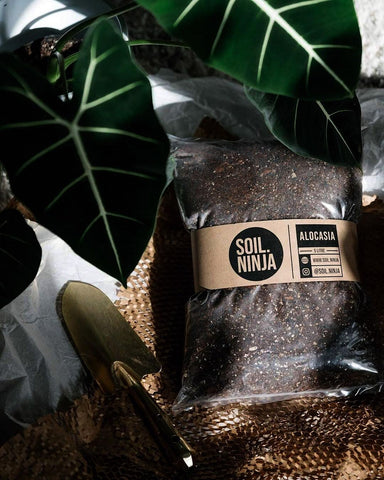
One of the thirstier houseplants out there, they need a very moisture retentive soil. We love Soil Ninja's blend, as it achieves amazing moisture retention without using peat moss, so is much more sustainable than a lot of standard houseplant soils out there. By using vermiculite and bark instead, the soil also creates a great microbial environment for your soil (ooh fancy) and slightly lowers the pH (which alocasias happen to LOVE!)
Activated charcoal also helps fend off any potential impurities which can lead to browning leaves, rotting roots and improve the immune system of the plant, win win!
This soil is also great for other plants that grow from rhizomes, including caladiums, colocasias and oxalis!